
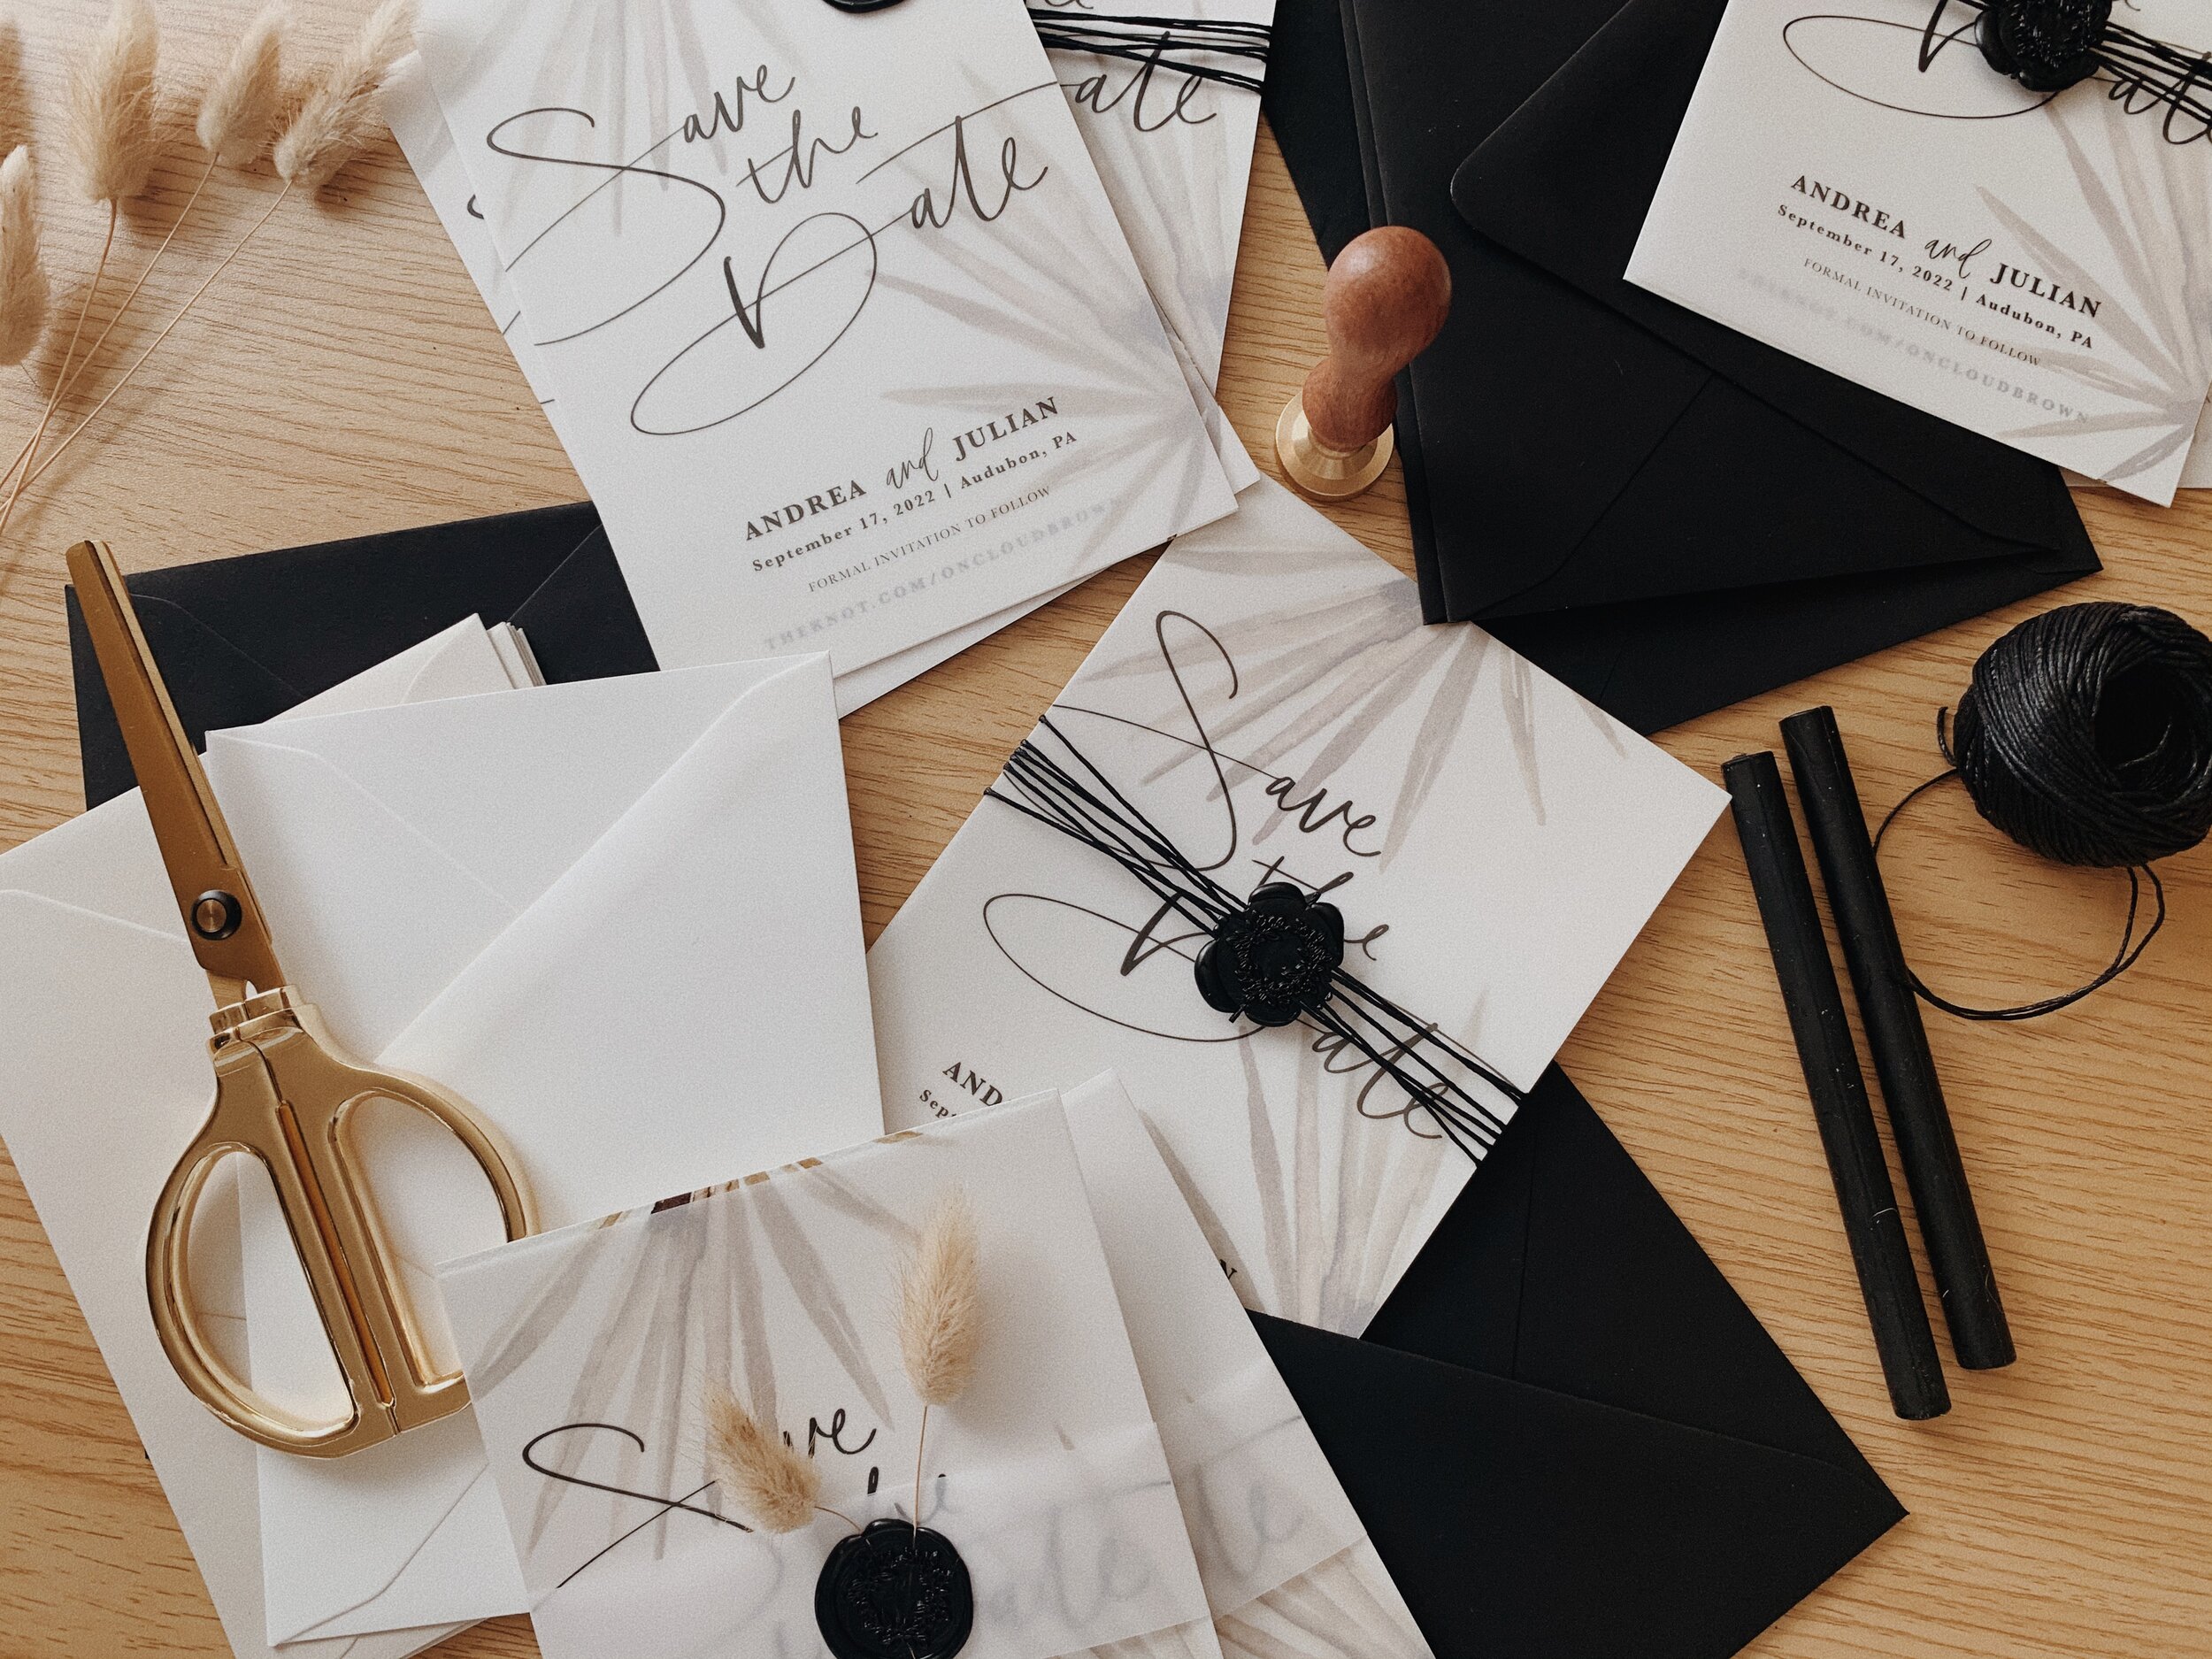
Vellum + Wax Seal Save the Date - 3 Ways!
Y’all know I love designing, but what I think I love even more is moving AWAY from the computer screen and actually getting my hands on it, to style it in all the different ways! Just playing around with what looks I can come up with. Most of the time I am pleasantly surprised and might think of something I hadn’t before. Most of the time I make a big mess all over all of the tables in my house. LOL
But those finishing touches are what makes all the difference for me. It’s the little details that can make your wedding invitations or save the dates feel like YOU, and gives all of the warm vibey feelings.
So. Today I am sharing my new Vellum Save the Date design styled 3 different ways using wax seals! It’s fun to just play around.

Style One
Vellum belly band: I bought these as 8.5x11in. sheets and cut them down lengthwise to make 1.5/11in. strips. I used an exacto knife and ruler, but you can use a slider cutter to make it even easier ;)
Bunny tail dried floral: (actually called lagurus), natural color. I used two stems per card! Be careful with the stems, they are delicate and can snap.
Also used; hot glue gun, black wax sealing sticks, + wax seal stamp


Style Two
For this style I made a simple 45 degree angle cut out of the top right corner of the vellum save the date. Then I used the wax seal to adhere both cards together.
(This kind of cut is super easy to make using an exacto knife and cutting mat because the vellum is translucent so you can easily see the guide lines marked on the mat!)
Also used; hot glue gun, black wax sealing sticks, + wax seal stamp


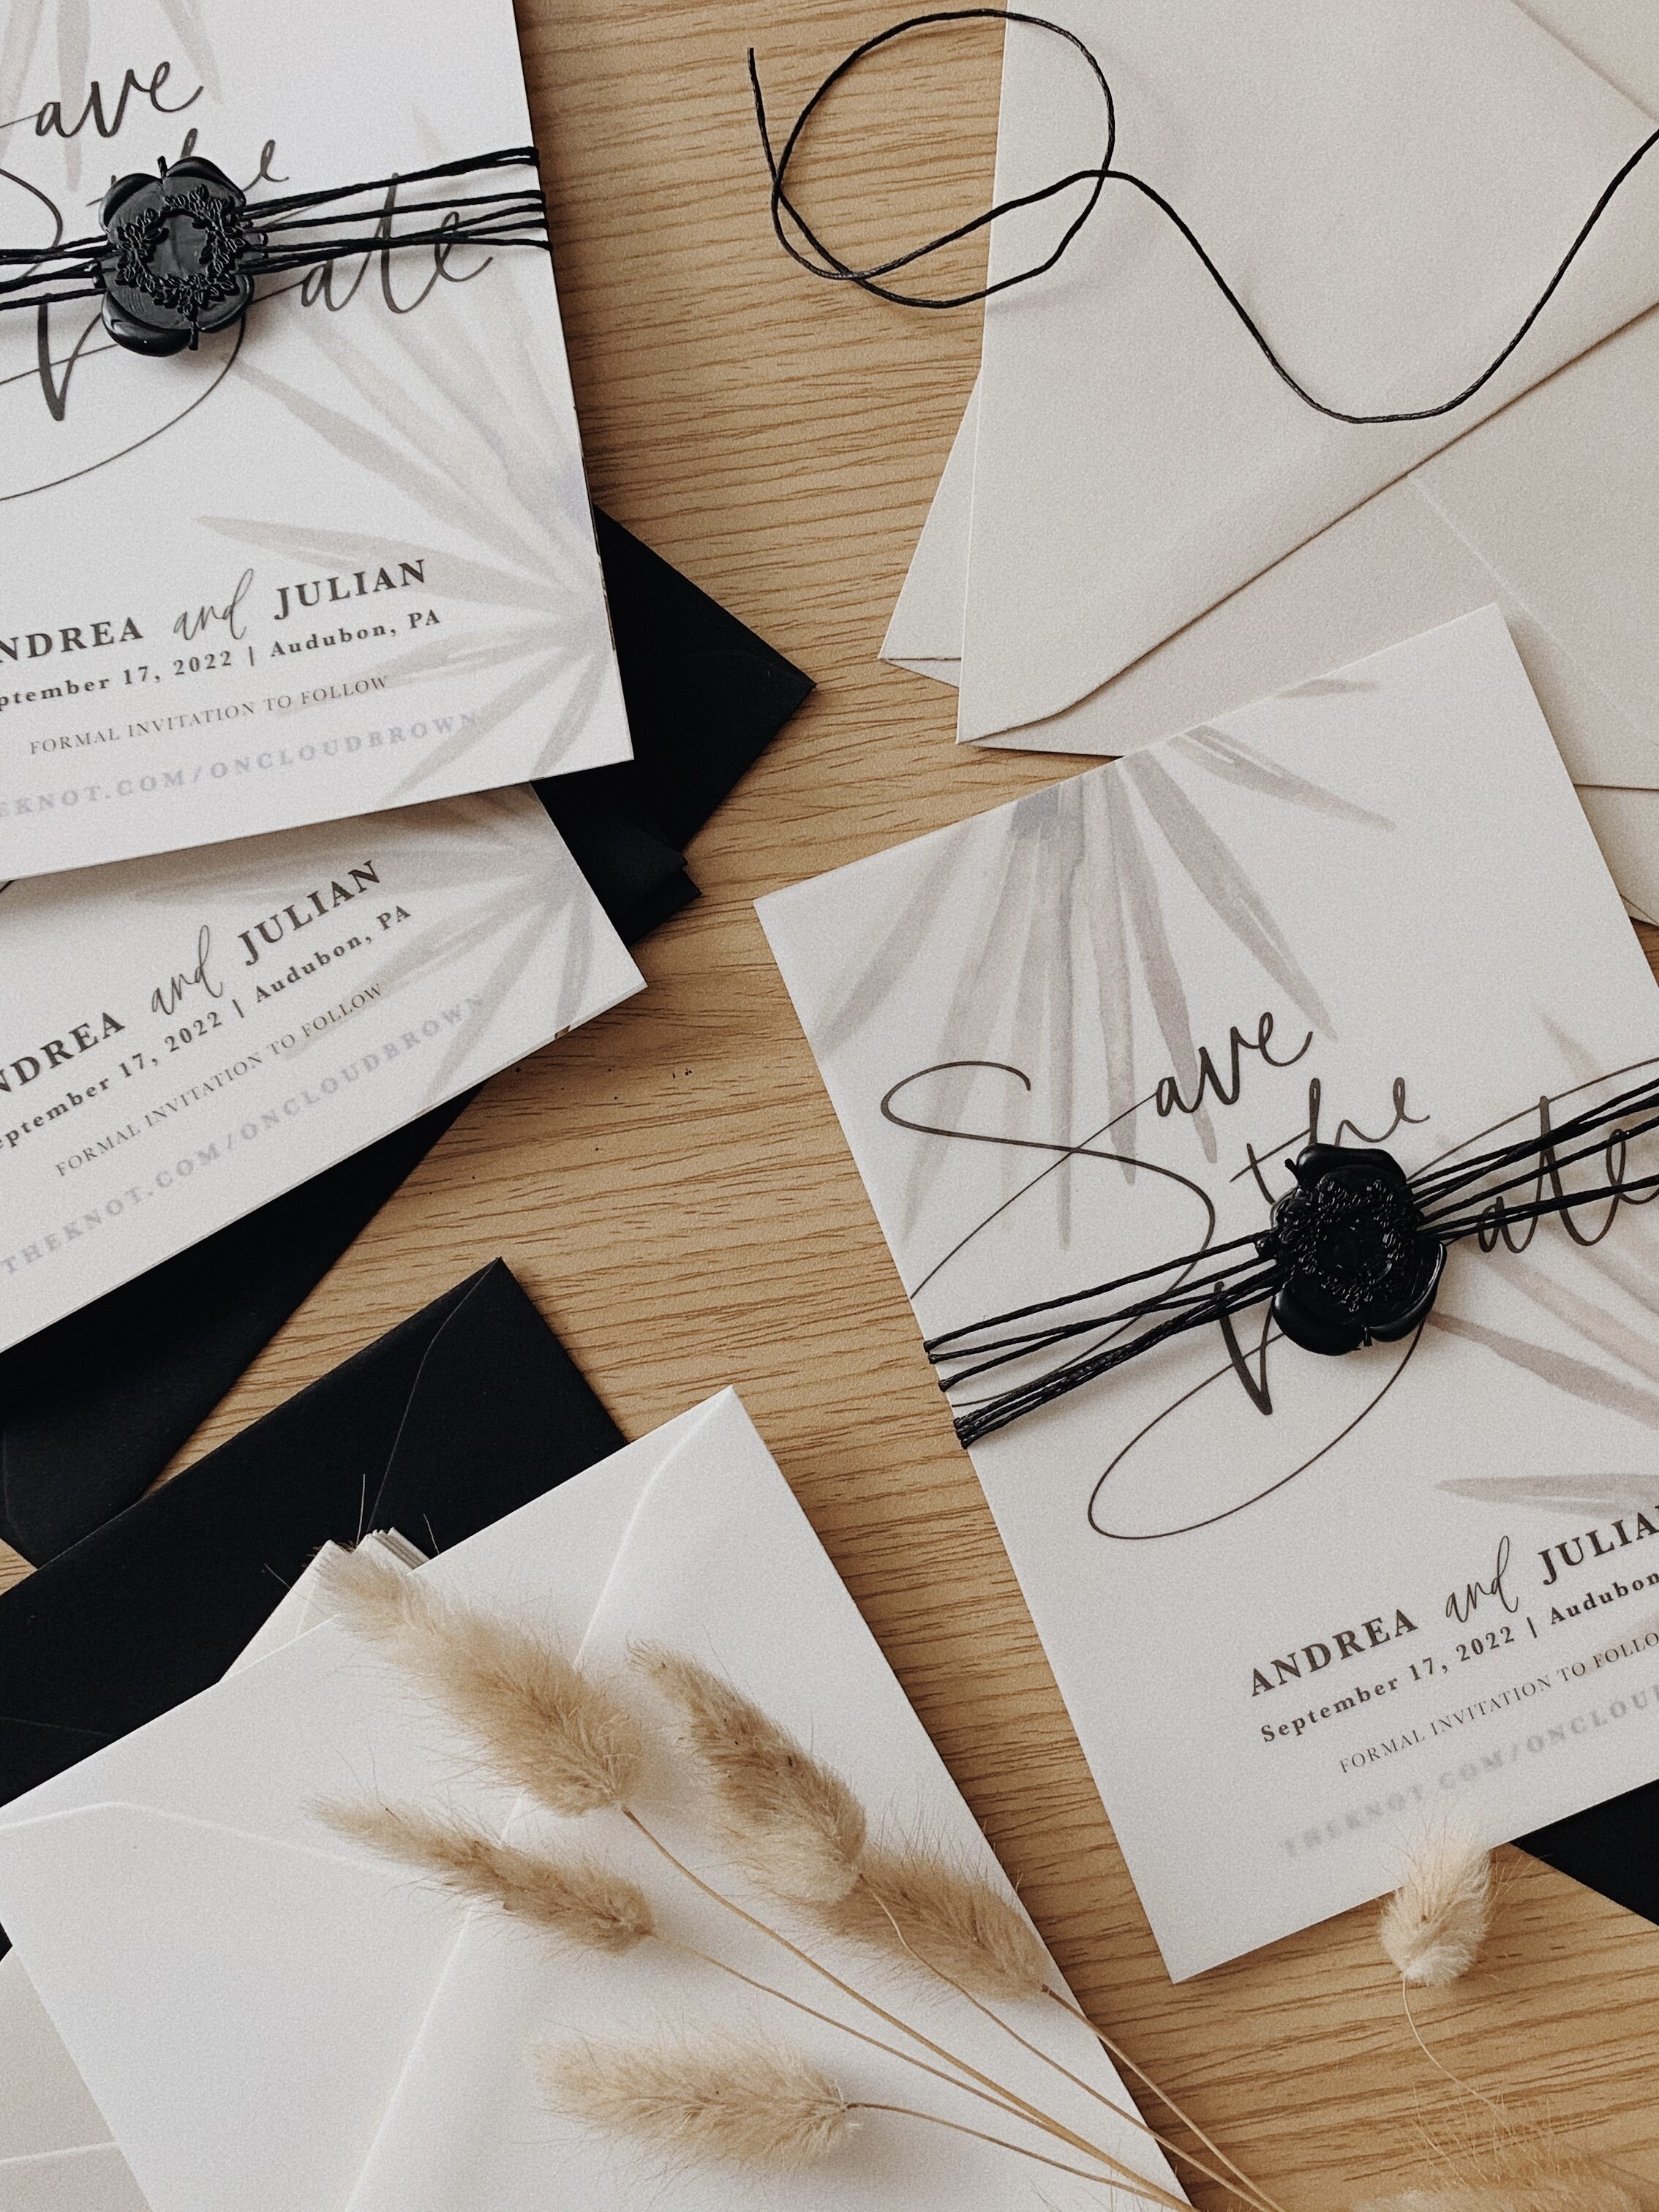
Style Three
Black twine/string: You can use thick twine, thin thread, ribbon, whatever you want!
Parchment paper: This is important for this one! You’ll need to place a piece of parchment paper down under the wax and on top of the save the date so that your wax doesn’t stick to the card! You want the wax to hold the string together, but not stick to the card. Watch the video at the top of this post for a tutorial!
Also used; hot glue gun, black wax sealing sticks, + wax seal stamp


