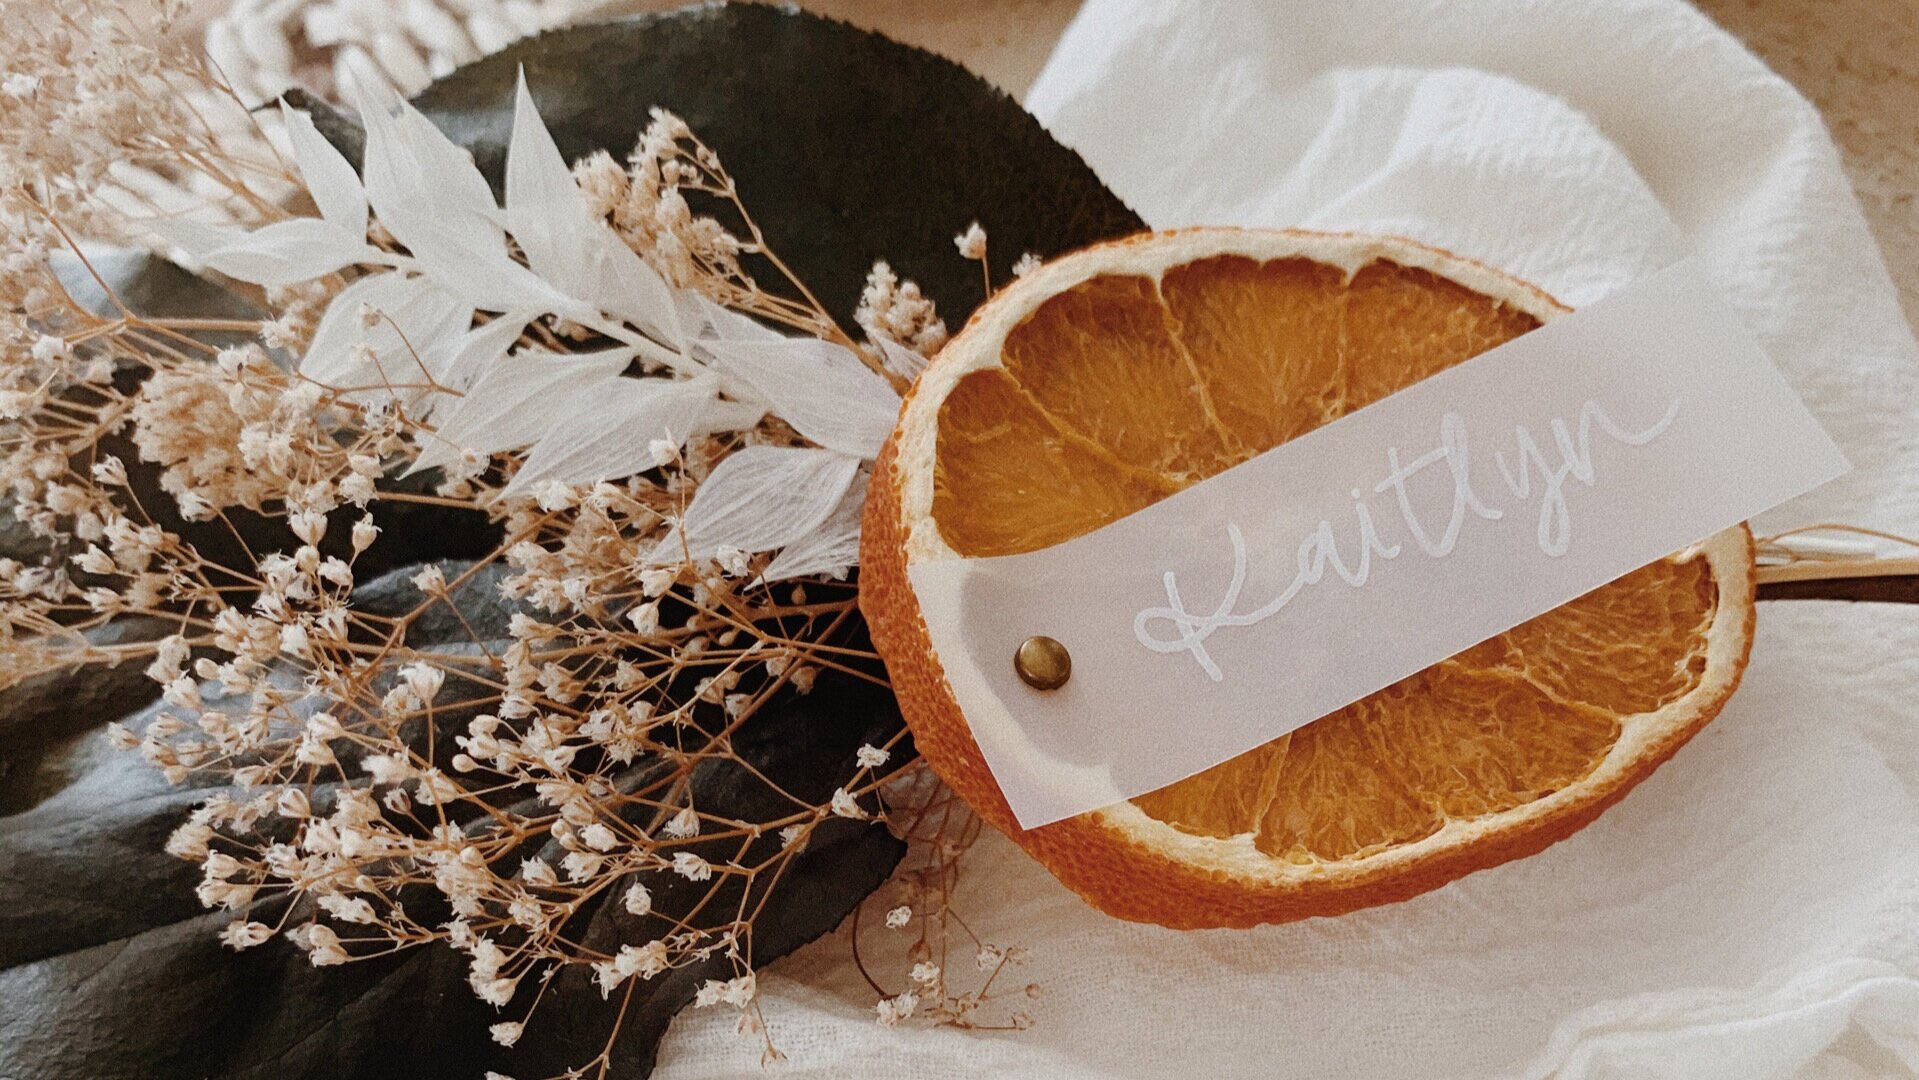
DIY - Dried Orange Slice Place Cards
Dried oranges seem to be the hottest trend as of late - and I’m officially on the train. lol
I was seeing this everywhere around the holidays especially. Garlands, wreaths, ornaments, gift wrapping…..why not add place cards to the mix! Haha, I’m actually a little salty that I didn’t make these for my own wedding because the colors would have been a perfect fit.
These are a labor of love, but also SUPER simple. The great thing about this DIY, is that both the oranges and mini bouquets are dried/preserved, which means you can prep everything wayyyy ahead of time. Or put them together a little at a time.
The first thing you’ll want to do is slice and dry your orange slices in the oven.
I used navel oranges, but you can really do this same process with any kind of citrus. Grapefruit, lemons, etc.!
Try to slice as evenly as possible, and cut pretty thick slices to avoid burning (1/4 inch thick)
Then lay on a baking sheet rack or parchment paper and bake in a 200 degree oven for about 4 hours. Check on them at the 2 hour mark, and flip them over. Then let them bake another 2 hours, checking on them every now and then so that they don’t burn.
You’ll want to let the oranges sit and dry out completely, maybe even overnight, which is why it’s a good idea to make this the first step. Once the oranges are dried out, they will last for quite a while.
Next step is to prep the mini bouquets! These will lay behind the orange slice at the table setting.
I am using dried florals, which again is great for prepping things ahead of time!
You will need floral wire and scissors to trim your stems and tie them into place. I am using 3 types of florals of various colors and textures - but feel free to use whatever combination you like!
Using the largest stem as the “base”, carefully stack the other florals on top until you are happy with the arrangement, and tie together using a small piece of floral wire.
links to florals pictured;
Once you’ve prepped your oranges and bouquets, the only thing left to do is make your place cards! What you’ll need:
Translucent Vellum (cut down into 1x3 in. strips)
Extra-Fine Tip paint pen, white (Also think black or gold would work well!)
It’s helpful to punch holes into your place cards before you begin writing the names, so that you don’t accidentally start too close to the edge. Then when you’re all finished, use the small metal brads to attach the place card directly through the flesh of the orange. Lay in front of your mini bouquet to style! Such a sweet little place setting. ha


